Previously we talked about organising your file folders in the Xero file library. In this article, we will discuss how to easily upload your files into those folders from your web browser.
If you want to know how to upload files on your mobile, see our post Uploading files using the Xero App.
The simplest way when working on your desktop is to drag and drop a file onto the Xero screen when you see the file attachment icon ![]() . The file is saved against the transaction or contact but it is not stored in the Xero file library for you to see.
. The file is saved against the transaction or contact but it is not stored in the Xero file library for you to see.
To easily find the file at a later date, first add it to a folder in the Xero file library, then attach it to the transaction or contact.
Let’s take a look at how to do this.
Uploading files into a folder
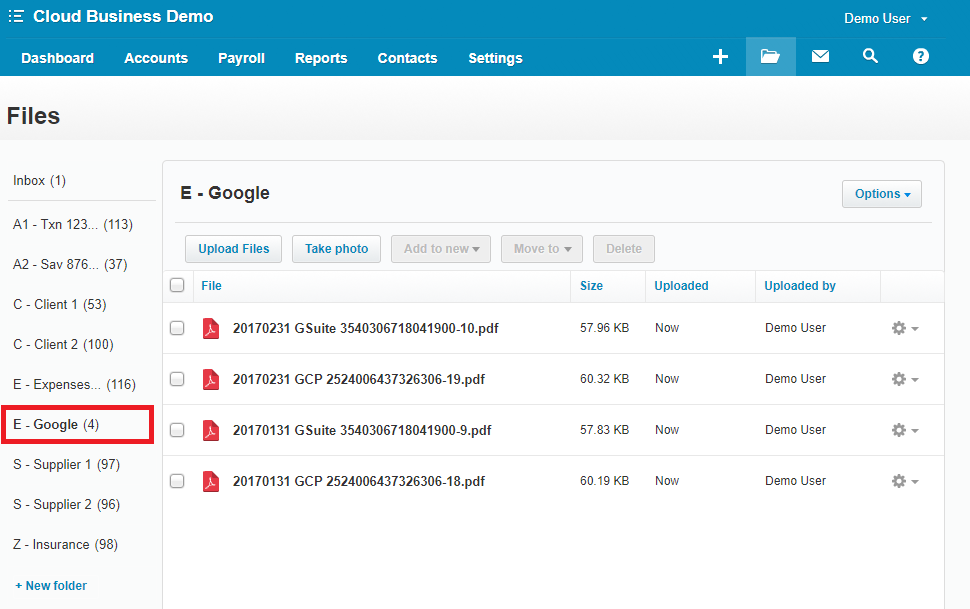
Firstly, go to the Xero Files Library by clicking on the File folder icon in the header.
Your Inbox is displayed. Any items that have been uploaded via the Xero App or by email, and have not been attached to a transaction, appear here.
On the left hand side, select the folder you wish your new file to appear in. The folder name in our example is E – Google.

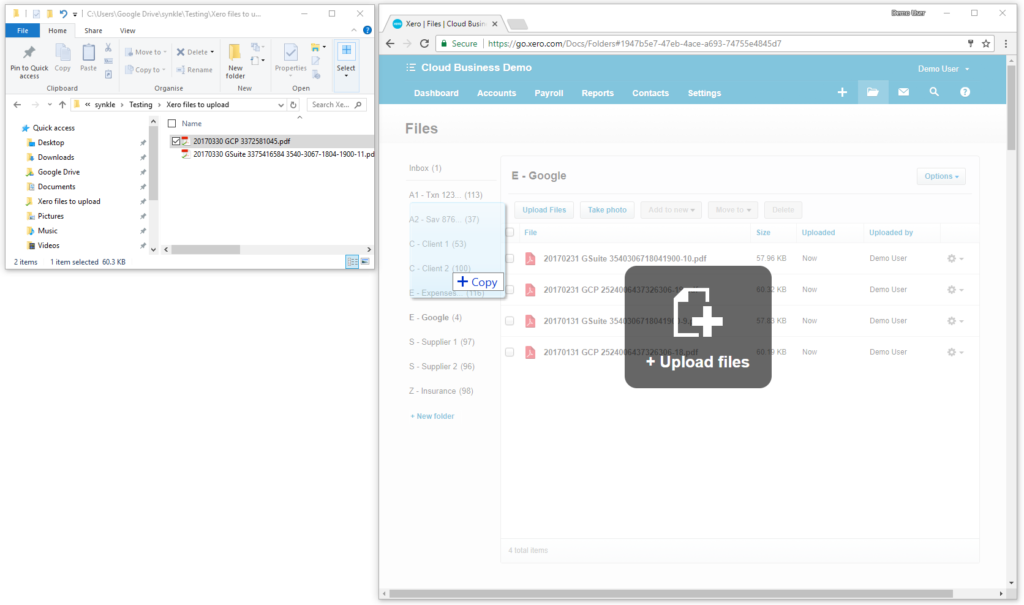
Next open up the directory where you have stored your files ready to upload to Xero. Drag and drop the files into Xero. Your screen will look something like this:

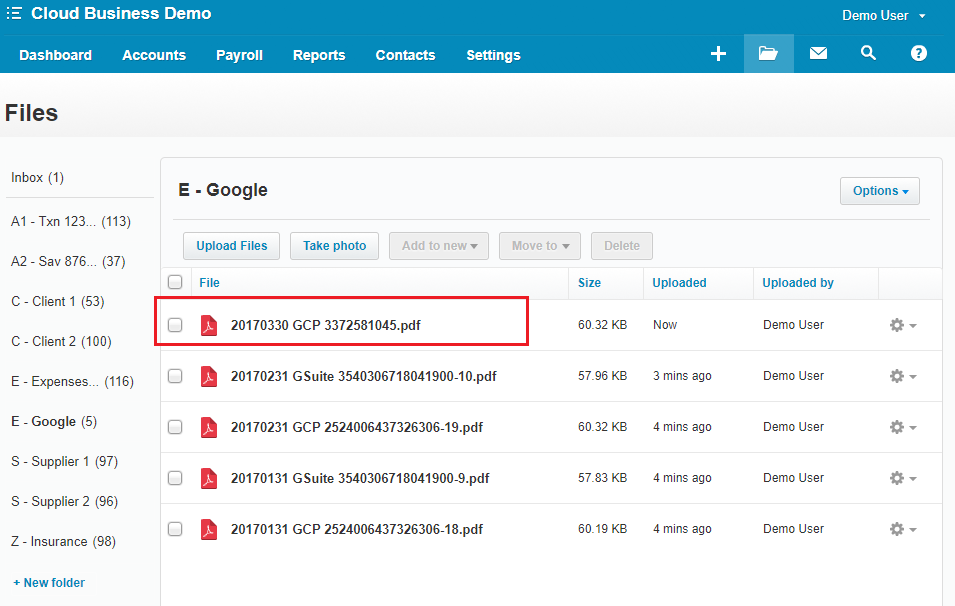
Once the upload is complete, the Xero folder will show the new files. In our example, one new file appears in Xero.

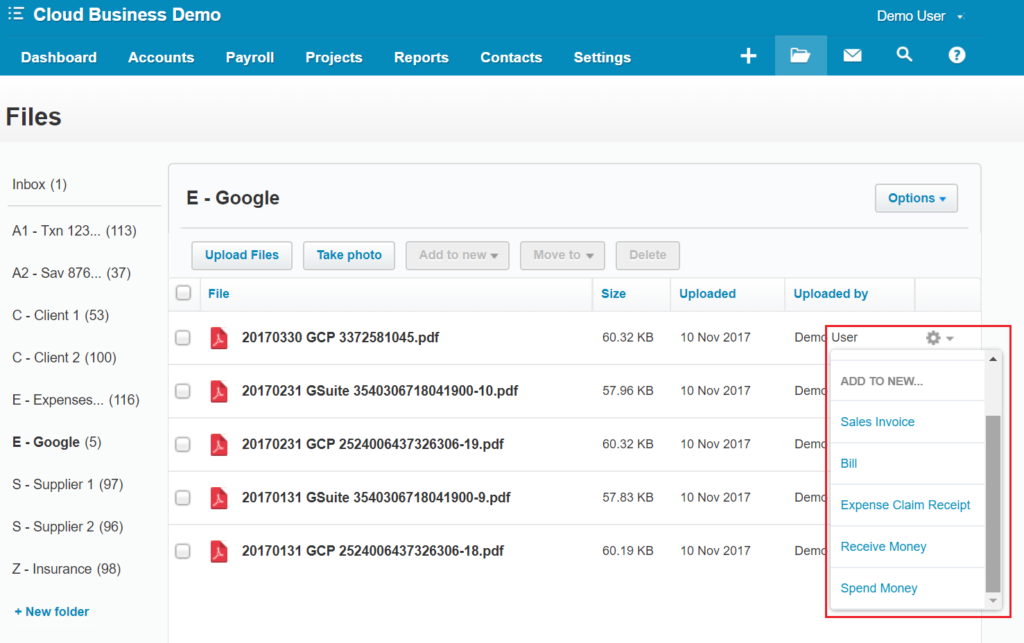
Now you can attach it to a Sales Invoice, Bill, Expense Claim Receipt, Receive Money or Spend Money by clicking the cog on it’s right.

Once attached, this file will remain in the Xero File Library under your folder. When Synkle performs the next synchronisation, it will copy the new file in this folder to Google Drive. Once in Google, you have the powerful Google search features that can enable you to find and share files easily.
Sign up to Synkle to backup your Xero Files to Google Drive!


Comments are closed.